Add in Columns and Structural Walls. Revit is not BIM.
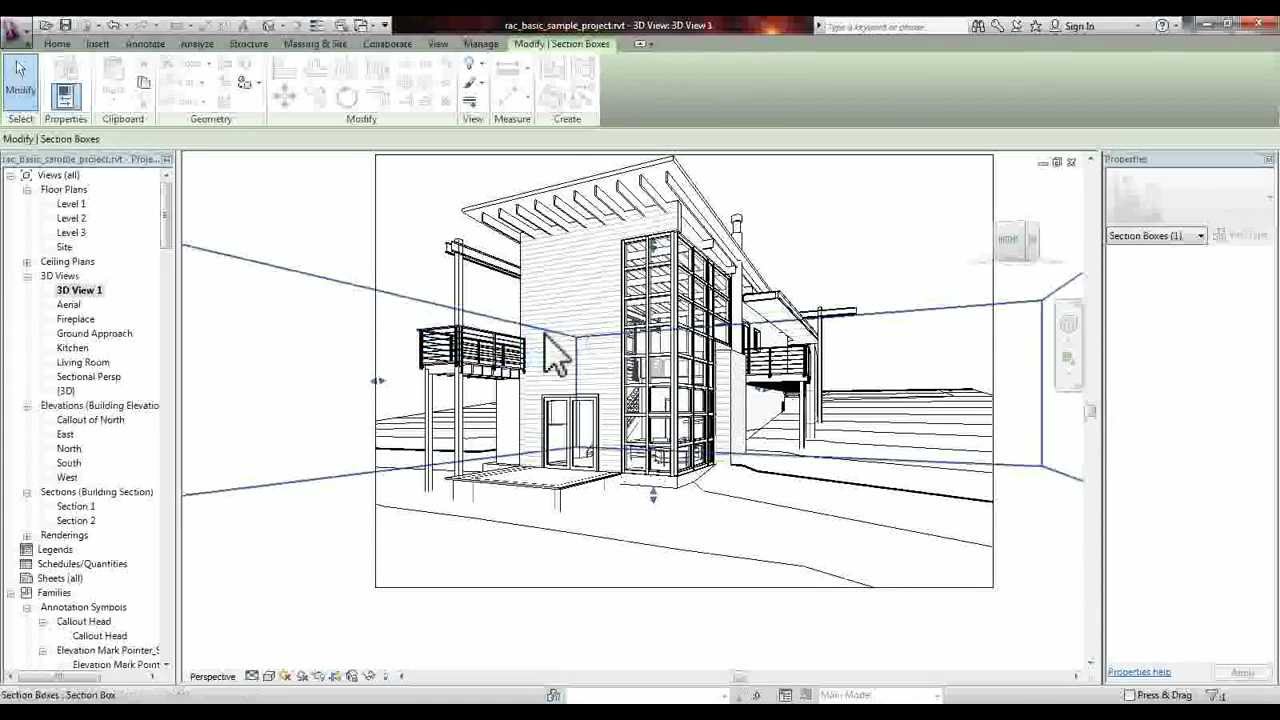
Revit Section Perspective Tutorial
Click on the wall then make sure the side is properly placed.
. Ad Use facial expressions motions to bring your animated characters to life. If you already understand the fundamentals the Basic tasks and Project management articles show you how to design in Revit. For example click Annotate tabDetail panel Detail Line.
Watch video 325 min Create a boundary sketch. In addition to helping people learn Revit CLICK2BIM offers Revit templates to help organizations with the implementation process. Pick the AutoCAD lines to recreate as walls within Revit.
Learn what the difference is and when sketch mode is needed. Download the free BIMsmith Revit Plugin which brings the BIMsmith Forge app into Revit and allows you to build these wall system families without leaving Revit. Optionally to draw a vertical duct on the Options Bar specify an Offset that is above or below the start point and click Apply.
Click Modify Place Lines tab or respective Modify Place tab or Modify Create tabDraw panel Line. Like anything the trick is to start basic and gradually increase the level of detail. Create the Project Model File.
For first-time users Key Revit concepts Revit drivers manual and the User interface tour are a great place to start. About Press Copyright Contact us Creators Advertise Developers Terms Privacy Policy Safety How YouTube works Test new features Press Copyright Contact us Creators. Now Open for September 2021.
- Create door and window families and types. The arrows symbol is located on the exterior side of the window so make sure to flip it if required. Set the location as required usually wall centreline or finished face exterior.
Optionally for Offset specify a value. Optionally in the Properties palette under Mechanical select a system type. Learn what Revits Reference Planes are and why you would use them.
Sketching as introduced in Revit Concepts lets you create building elements such as floors roofs and ceilings by drawing the boundaries. Autodesk Revit software is the premier BIM authoring software used today. Beginning to use Revit is a major task.
Under Draw select pick lines. Add in a Flat Roof. Learn how use Revits drawing aids ton increase your modelling efficiency.
Select a tool that allows for a line. Select a drawing tool such as a line and click anywhere in the drawing area to start creating a form. Stack the two wall types.
Simply install and select Start Trial on the license dialog that comes up. Both of the above methods accomplish the same goal. Place your building Pads to setup the ground slabs.
Construct your ground level walls. Finish off with some Retaining Walls and the Pool. Learn how to create and.
In order to lock the sketch lines to the reference plane so you are able to flex the model choose the lock button and select the desired reference planes to trim it back into place. Create different materials and assign the model surface patterns as their graphic appearance. The Revit Quick Start Guide helps you improve your skills.
- Create an in-place model sweep for the crown and molding. Create your Standard Plan View and Relevant Underlays. Detailed video about how to setup a high quality Revit model from scratch in 9 steps.
In your BIM standards make sure to have a clear way to name views. Use the Paste from Clipboard or Paste Aligned tools to paste Revit Architectural Abbreviations Key Schedule in the drawing. Revit Ryan with a great tutorial on how to utilize keynotes in Revit 2020.
However using Revit is the gateway to BIM for many organizations. - Edit the wall profile for the top level to add the arches and steps. Click the arrow symbol or hit SPACEBAR to flip the door.
As a third alternative you can expedite the entire import process with the BIMsmith Revit Plugin. Create the Base Draw the base for the parent family by using the extrusion tool. Introduce the Stair Case and Feature Curtain Walls.
Assign your Project Information. Introduce your second floor slab with cantilevers. Assign your Project Base Point.
Doors are easy to create and control. Revit 2-day 6-Week Online Courses. Learn about the relationship between Levels and Views in Revit.
In the Type Selector select the duct type. Keep your project browser organized else youre going to be in Hell. A good tip is to add a number prefix at the beginning of all view names.
The Revit Guru here aka. On the Options Bar specify layout options. Construct the upper storey walls.
To draw in a 2D view open it from the Project Browser When you access the conceptual design environment you can immediately start to draw a concept in 3D. You can start adding windows. Best-practice is to model how you would build it.
Optionally select Radius and specify a value. Edit in a Different View Go into an elevation view. 13- Dont Keep An Organized Project Browser.
Specify a start point and end point for a line or specify the line length. Make sure to use the correct type in the type selector. Sketch modes Several elements in Revit are sketched but not all require sketch mode.
- Create a railing type for the balconies. On the Options Bar.

Revit Tutorial Creating A Section Presentation Drawing In Less Than 7 Minutes
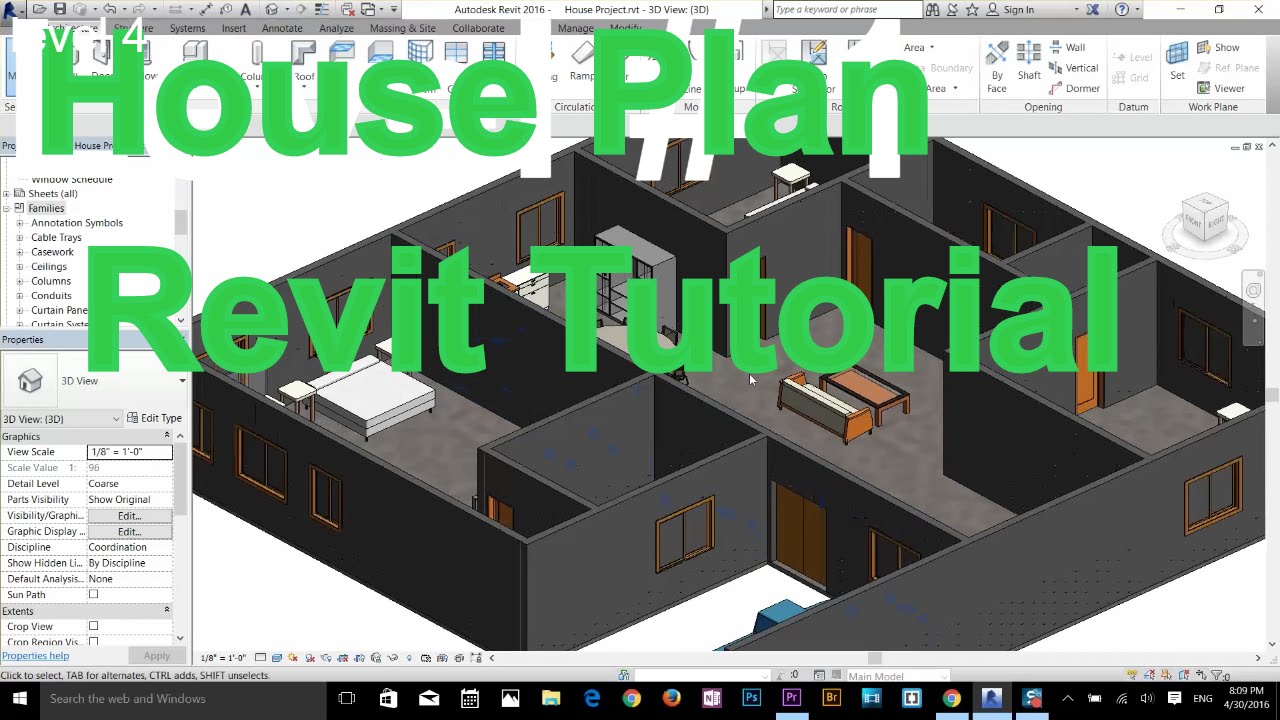
Autodesk Revit Tutorial For Beginners Complete
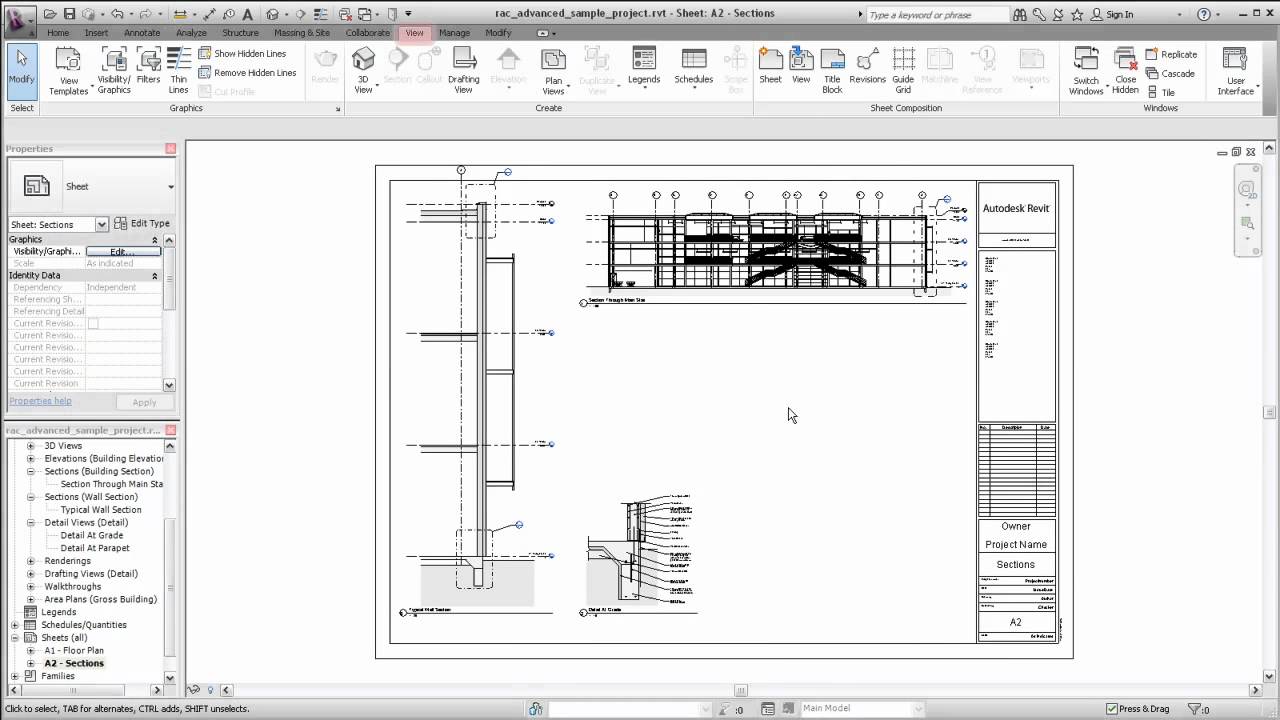
Autodesk Revit Creating Sheet Views
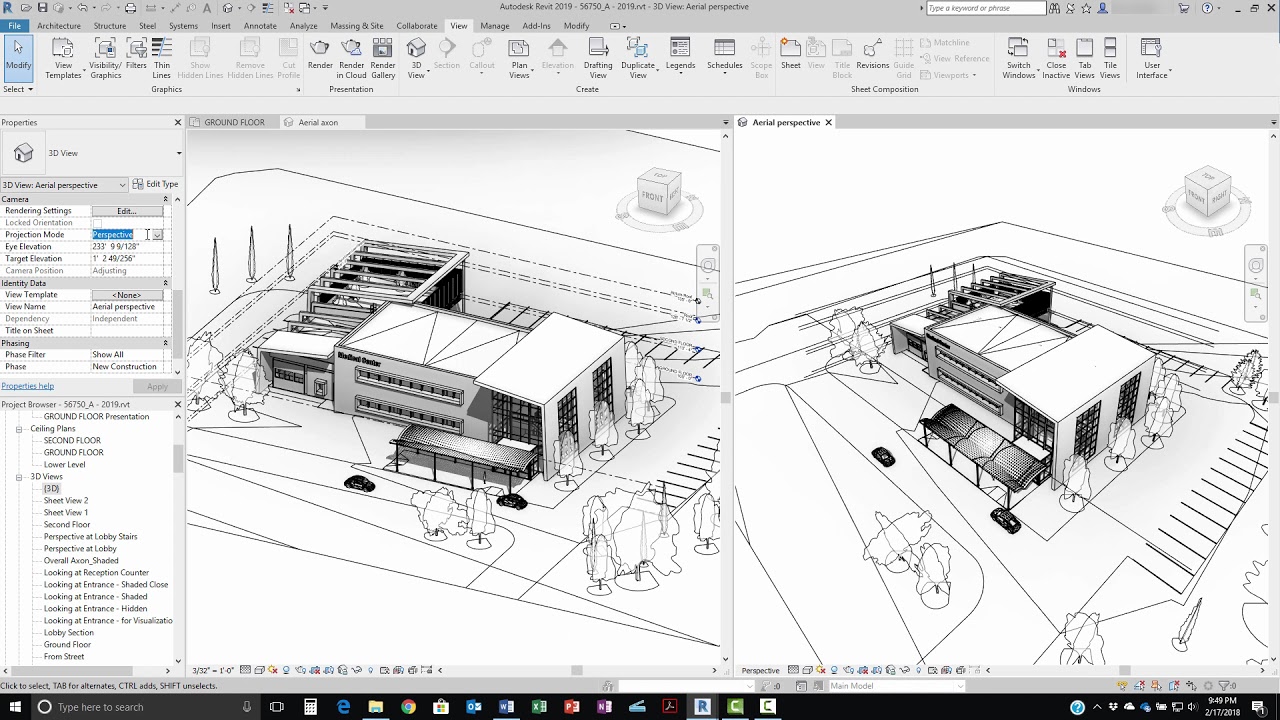
Revit 2019 View Projection Modes

How To Jazz Up Section Graphics In Revit Tutorial

110 Tutorial How To Control Building Elevation Line Weights In Revit Architecture

Revit Tutorial Creating A Section Presentation Drawing In Less Than 7 Minutes

Levels And Grids Beginning To End
0 comments
Post a Comment